
Introduction
Building a custom web application can feel a bit like building a house. You would never call a construction crew without a blueprint, an architect’s drawing, and a clear budget. Yet, many people jump straight into coding a website or app with only a vague idea in their heads.
When you skip the planning phase, problems pile up fast. Features clash, budgets run dry halfway through development, and users find the app confusing.
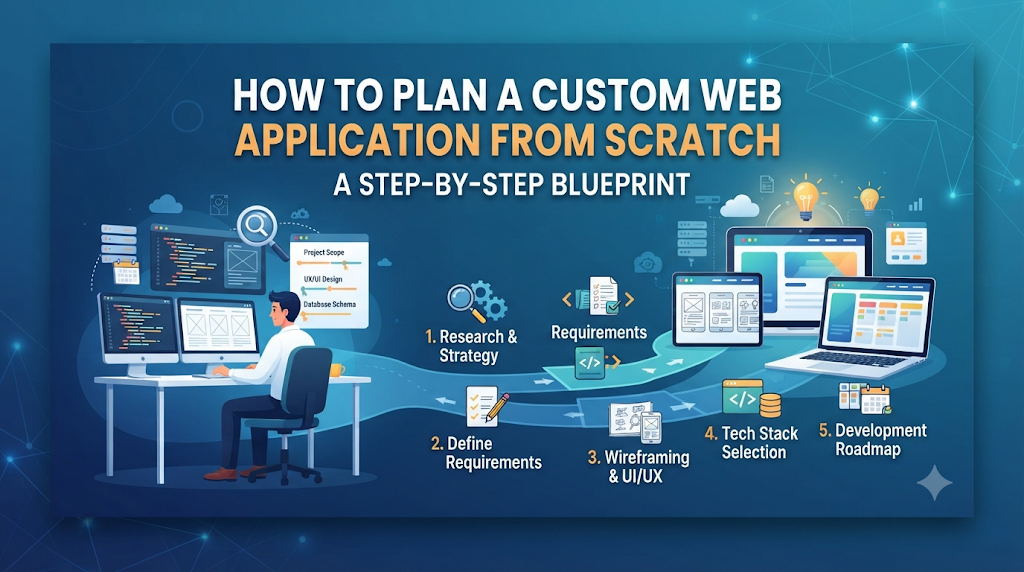
This guide walks you through how to plan a custom web application from scratch. You will learn how to turn a raw idea into a structured, executable blueprint that developers can actually build.
What Is a Custom Web Application?
A custom web application is a software program that runs in a web browser and is built specifically for a unique business, team, or audience.
Unlike a standard website (which mostly just shows text and pictures, like a blog or a restaurant menu), a web app lets users do things. It processes data, saves user profiles, handles payments, and reacts to user input. Examples include online banking dashboards, project management tools like Trello, and customer management systems.
Why Careful Planning Matters
- Saves Money: Fixing a mistake in the planning stage takes a few minutes on paper. Fixing that same mistake after the code is written can cost thousands of dollars.
- Keeps Teams Aligned: Designers, developers, and business owners all stay on the same page.
- Delivers Real Value: It ensures you build features people actually want instead of features you think they want.
Step 1: Define the Problem and the Core Idea
Every great web app solves a specific problem. Before thinking about colors or databases, you must answer one fundamental question: What exact pain point does this app solve?
The Problem-Solution Fit
Write down the problem in plain English. For example: “Small bakery owners spend too much time manually tracking custom cake orders through text messages and paper notebooks.”
Your app’s solution: “A simple web dashboard where bakers can track orders, ingredients, and delivery dates in one place.”
Identify Your Target Users
You cannot build an app for “everyone.” You need to know who will log in every day.
- Primary Users: The people who will use the app the most (e.g., the bakery staff).
- Secondary Users: Admins or managers who oversee the system (e.g., the bakery owner).
Step 2: Define Your Minimum Viable Product (MVP)
When people first plan a custom web app, they want every feature under the sun. They want AI chatbots, dark mode, multi-language support, and automated invoicing all on day one. This is a fast track to failure.
Instead, define your Minimum Viable Product (MVP).
An MVP is the simplest version of your app that still solves the core problem for your users.
How to Build an MVP List
- Write down every feature you want.
- Separate them into two columns: Must-Have and Nice-to-Have.
- Cut everything in the “Nice-to-Have” column for now.
Example: For the bakery app, user login and order tracking are Must-Haves. Automated text message reminders and custom themes are Nice-to-Haves for version two.
Step 3: Map the User Journey and Workflows
Once you know what the app does, you need to map out how a user moves through it. This is called the user journey.
A user journey is a step-by-step story of a person interacting with your app.
Visualizing the Flow
- Step 1: The user opens the web app URL.
- Step 2: They click “Sign Up” and enter their email and password.
- Step 3: The system sends a confirmation email.
- Step 4: Once confirmed, the user lands on their empty dashboard.
- Step 5: They click “New Order” and fill out the customer details form.
Mapping this out exposes missing gaps. For instance: What happens if the user forgets their password? You now know you need a “Reset Password” workflow.
Step 4: Choose the Right Technology Stack
A technology stack is the combination of programming languages, frameworks, and databases used to build your web application.
Choosing the right stack depends on your app’s needs, your budget, and the skills of your development team. A tech stack has two main sides:
1. Frontend (Client-Side)
The frontend is everything the user sees and clicks on their screen (buttons, forms, colors, layout).
- Common Tools: HTML, CSS, JavaScript, and frameworks like React, Vue.js, or Angular.
- Why it matters: A clean frontend makes the app fast and easy to use.
2. Backend (Server-Side)
The backend is the hidden engine room. It handles user data, security, business logic, and database communication.
- Common Languages & Frameworks: Node.js, Python (Django/Flask), Ruby on Rails, or PHP (Laravel).
- Why it matters: A strong backend keeps user data secure and prevents the app from crashing when many people log on at once.
3. Database
The database is where all your app’s information (user accounts, orders, settings) is safely stored. Examples include PostgreSQL, MySQL, or MongoDB.
Step 5: Estimate Costs, Timeline, and Resources
A project without a budget or a timeline will quickly spiral out of control.
Understanding the Cost Factors
Building a custom web app isn’t free. Your costs will generally come from:
- Design: Wireframing and user interface (UI) design.
- Development: Freelancers, an in-house team, or an agency writing the code.
- Infrastructure: Hosting, domain names, security certificates, and email services.
- Maintenance: Ongoing bug fixes and software updates.
Setting Realistic Timelines
An MVP web app built by a small team typically takes anywhere from 3 to 6 months to plan, design, test, and launch. Avoid rushing development, as skipped testing leads to broken features on launch day.
Step 6: Identify Risks and Plan for Failure
Every software project faces hurdles. Anticipating them early helps you survive them.
| Risk | Why It Matters | How to Reduce It |
| Scope Creep | Adding new features constantly delays the launch and drains your budget. | Stick strictly to your MVP list until the first version is live. |
| Data Security Breaches | Leaking user data destroys trust and can break privacy laws. | Use industry-standard authentication tools and secure cloud hosting. |
| Poor Performance | The app slows down or crashes when traffic spikes. | Choose scalable cloud infrastructure (like AWS or Google Cloud) from the start. |
Step 7: The Decision-Making Framework
Use this simple 5-step framework to finalize your planning phase before hiring developers or writing code:
- Validate the Need: Talk to potential users. Do they actually want this app?
- Freeze the Scope: Lock down your MVP feature list in writing.
- Sketch Wireframes: Create simple black-and-white drawings of your app screens.
- Pick Your Team: Decide whether you will code it yourself, hire freelancers, or partner with a development agency.
- Set Milestones: Break the development timeline into 2-week sprints with clear goals.
Checklist for Planning Your Web App
- Defined the core problem your app solves.
- Identified your primary and secondary users.
- Created a strict MVP feature list (removed nice-to-haves).
- Mapped out basic user journeys and screen flows.
- Selected your frontend and backend technology stack.
- Established a realistic budget and timeline.
- Listed potential risks and security measures.
Key Terms
- MVP (Minimum Viable Product): The simplest version of a product that still delivers value to early users and tests the core idea.
- Frontend: The visual part of a website or app that users interact with directly in their browser.
- Backend: The server-side logic, database management, and infrastructure that powers the app behind the scenes.
- Wireframe: A basic, black-and-white visual guide that outlines the structure of a webpage or app screen.
- Scope Creep: The uncontrolled expansion of a project’s scope without adjustments to time, budget, or resources.
- UI/UX: User Interface (how the app looks) and User Experience (how easy and pleasant the app is to use).
FAQs
How long does it take to plan a custom web application?
A thorough planning phase usually takes between 2 to 4 weeks. Rushing this stage often leads to costly redesigns during development.
Do I need to know how to code to plan a web app?
No. You do not need to write code to plan an app. However, you do need a clear understanding of what you want the app to do and how users will navigate through it.
What is the difference between a website and a web app?
A standard website displays static content that users read or browse. A web app is interactive, requiring users to log in, input data, and perform dynamic tasks like managing accounts or processing transactions.
How much does it cost to build a custom web app?
Costs vary wildly based on complexity, design needs, and developer location. A basic MVP can range from a few thousand dollars for a solo freelancer up to tens of thousands for a professional agency.
Should I design the app before writing code?
Yes. Creating wireframes and visual designs before writing code ensures everyone agrees on how the app will look and function.
What happens after my web app launches?
Launching is just the beginning. You will need to monitor user feedback, fix bugs, track app performance, and slowly introduce the “Nice-to-Have” features you cut from your original MVP.
Conclusion
Planning a custom web application from scratch is an exercise in focus. By defining your core problem, locking down a tight MVP, mapping your user journeys, and anticipating risks, you transform a chaotic vision into an actionable roadmap. Take your time during this planning phase; every hour spent organizing upfront saves days of frustration during development.
